Adhesive vinyl is an awesome material for any of your DIY or marketing projects. However, some folks still struggle with how to use it.
It’s somewhat easy when you go out and purchase a few adhesive stickers that you’ll paste on whatever you need, but when it comes to creating your own pieces, well, that’s another beast altogether.
Jokes aside, adhesive vinyl is not that hard to use or prepare. You just have to learn a few basic things, and you’ll be well on your to becoming a DIY project master.
Don’t believe us? Well, just wait ‘till you read what we have in store for you!
What Is Adhesive Vinyl?

Adhesive vinyl or self-adhesive vinyl, however you want to call it, is a nice, shiny, flexible material that comes with pressure-sensitive adhesive. As simple as that.
It is typically used for creative projects like DIY decals window decorations, but it can also be used in various marketing campaigns to create business signage.
Since there are several different types of this neat, versatile material, it is not uncommon for us to come across weather and waterproof vinyl, making it suitable for a lot more heavy-duty use-case scenarios than we initially thought. But, we’ll save that for another time.
Now, let’s get into how you can use it. We’ll start with the basics.
What You’ll Need?
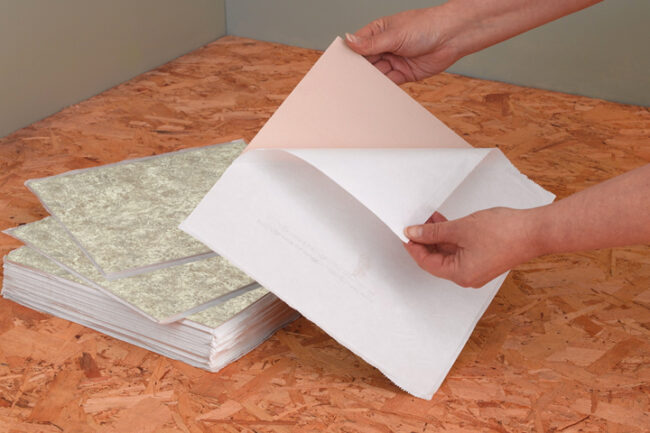
Before we even get started, you’ll need to learn which tools you’ll require in order to easily use this sticky material. But, before we get to that, we must learn a thing or two about another important thing – preparation.
Preparation is absolutely vital. You won’t be able to seamlessly apply your vinyl designs on your project if you don’t properly clean the surface you plan on sticking your HTVRONT vinyl onto.
Even though HTVRONT vinyl is perfect for this kind of application, even their quality can’t help you if you don’t properly prep and clean the desired surface.
And, to do that, you’ll need:
- A damp cloth
- Water (with a drop of mild detergent)
- Alcohol
Use these to clean the surface and leave it out to dry. Then, get the following tools for your adhesive vinyl creation and application.
- Cricut machine
- Printing pad
- Tweezers
- Scrapper
- Weeding picks (or needles)
- Craft knife (or a scalpel)
- Scissors
- Transfer paper
- Squeegee (or something similar)
If you got your hands on all of those – you’re ready to begin crafting!
How To Create Vinyl Designs?
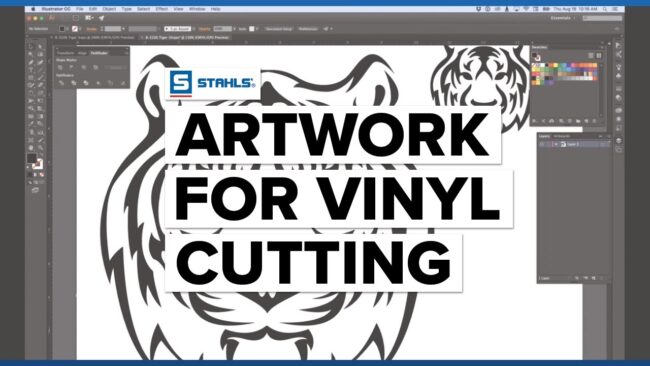
There are two ways for you to create your vinyl cut-out designs – create them all by yourself or get them from an online marketplace.
As you can probably guess, the latter is a much easier option, and if we’re being honest, unless you have something really special in mind – don’t bother creating your own designs.
But, if you want to, you’ll need software like Adobe Photoshop or Illustrator, where you can create your designs, export them to SVG, and feed them to your Cricut cutter and let it do its thing.
Other than that, there’s really nothing much you can do other than free-hand your designs directly on the vinyl, but that’s very, very hard to do.
How To Cut And Weed Designs From Vinyl?
When it comes to cutting the designs – there are only two ways for you to go about it – invest in a Cricut cutter or grab a knife and do it manually.
We don’t really have to be the ones to tell you that if you’re big on DIY-ing and adhesive vinyl that a Cricut machine is a lifesaver. What you can do in an hour – a Cricut can do in less than five minutes!
With that in mind, if you want to go old-school and use a craft knife to precisely cut out your design – be our guest. We won’t stop you.
On the other hand, when it comes to weeding – you’ll have to do it manually, whether you’ve used a Cricut or a craft knife.
Batches of vinyl will remain on the sheet, and you’ll literally have to weed them out. Grab a weeding pick or a simple needle if you don’t have a pick, and gently remove the excess vinyl from your design. Once you do – you’re ready for the final step.
How To Apply Vinyl To Your Project?
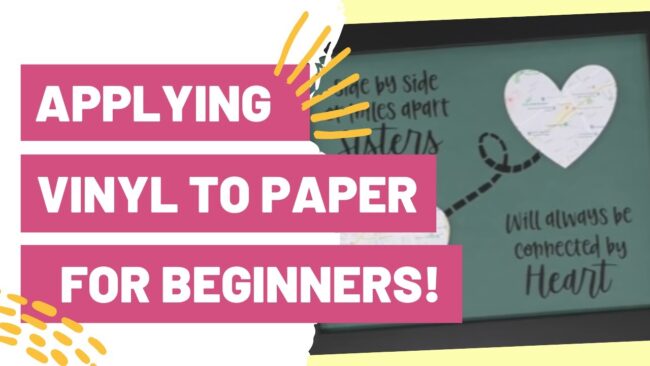
After you’ve weeded everything out – you’re ready to apply your decal to whatever you want.
You’ll start by grabbing a piece of transfer paper and cutting about the same size as your decal. Don’t cut it bigger – avoid unnecessary waste. After you’ve cut it – apply it directly onto your decal and gently smooth it out using the squeegee or a credit card.
Then, you’ll peel off the transfer tape and your vinyl decal off of the paper backing that vinyl was attached to, and you’ll paste your design onto the prepped surface.
Place it gently and precisely, and for starters, just flatten it out using your fingers. If you’re pleased with the result and the placement – use the squeegee or any other thing, flat surface to thoroughly apply the adhesive vinyl onto the surface.
Don’t be afraid to be rough! The adhesive is activated through pressure, so take your time and press firmly.
Fun DIY Projects To Use Adhesive Vinyl With
Now that you’ve learned how to use the adhesive vinyl – let’s take a look at some fun DIY projects where you can put your newfound knowledge to good use!
1. Custom Hand Lettered Signs

Is there anything that says “home” more than a “Live, Laugh, Love” sign? Well, any hand-lettered sign with a heartfelt message does, and you can create them easily!
2. Custom Jars and Mugs
Instead of hand-painting the custom mugs and jars – create detailed vinyl stickers and bring a whole new vibe to your kitchen!
3. Custom Phone Cases
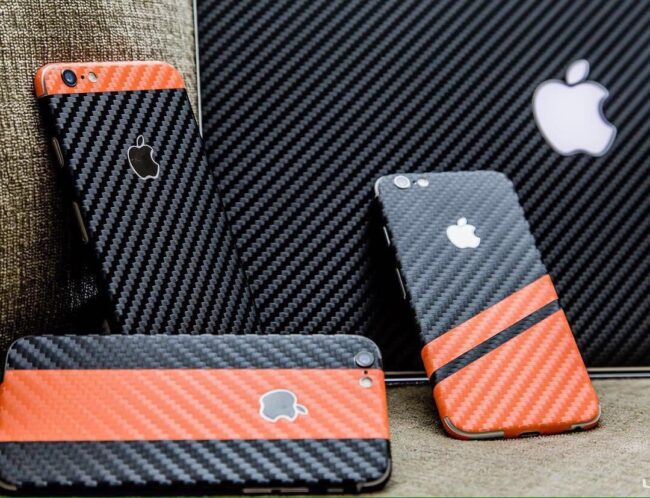
If you’re bored from looking at your plain-old phone case – grab a sheet of adhesive vinyl and paste a custom design on the back, creating a one-of-a-kind, completely unique phone case!
4. Custom Flowerpots
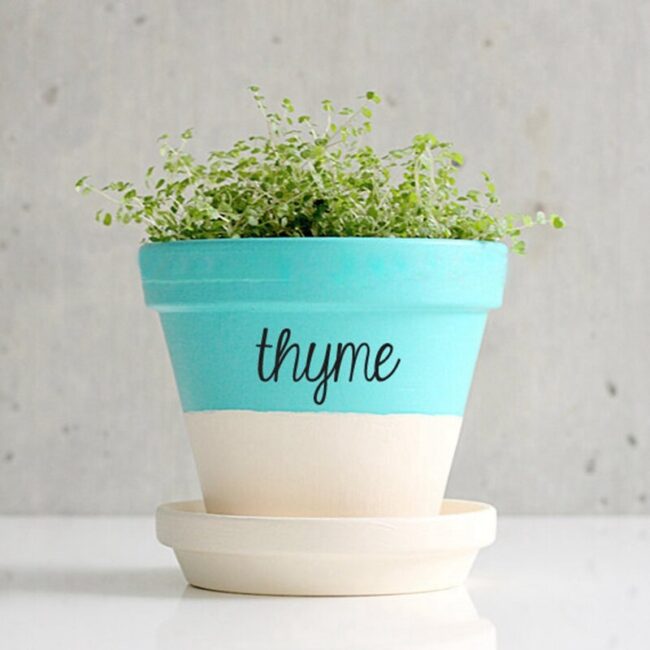
Just picture this – a cute little face that’s pasted onto a flowerpot, with flowers looking like the coolest haircut ever? Neat, right?
5. Custom Party Balloons
Why waste your money trying to find balloons that say what you want them to say when you can literally make dozens of them in just a few hours, at home, for free?!
Conclusion
There you have it – all you need to know about adhesive vinyl and DIY projects with it!
Hopefully, you’ve enjoyed our mini-guide. We sure had fun writing it!
